
Tapcart CLI
Push and Pull Blocks, Layouts, Components, and Dependencies programmatically with the Tapcart CLI
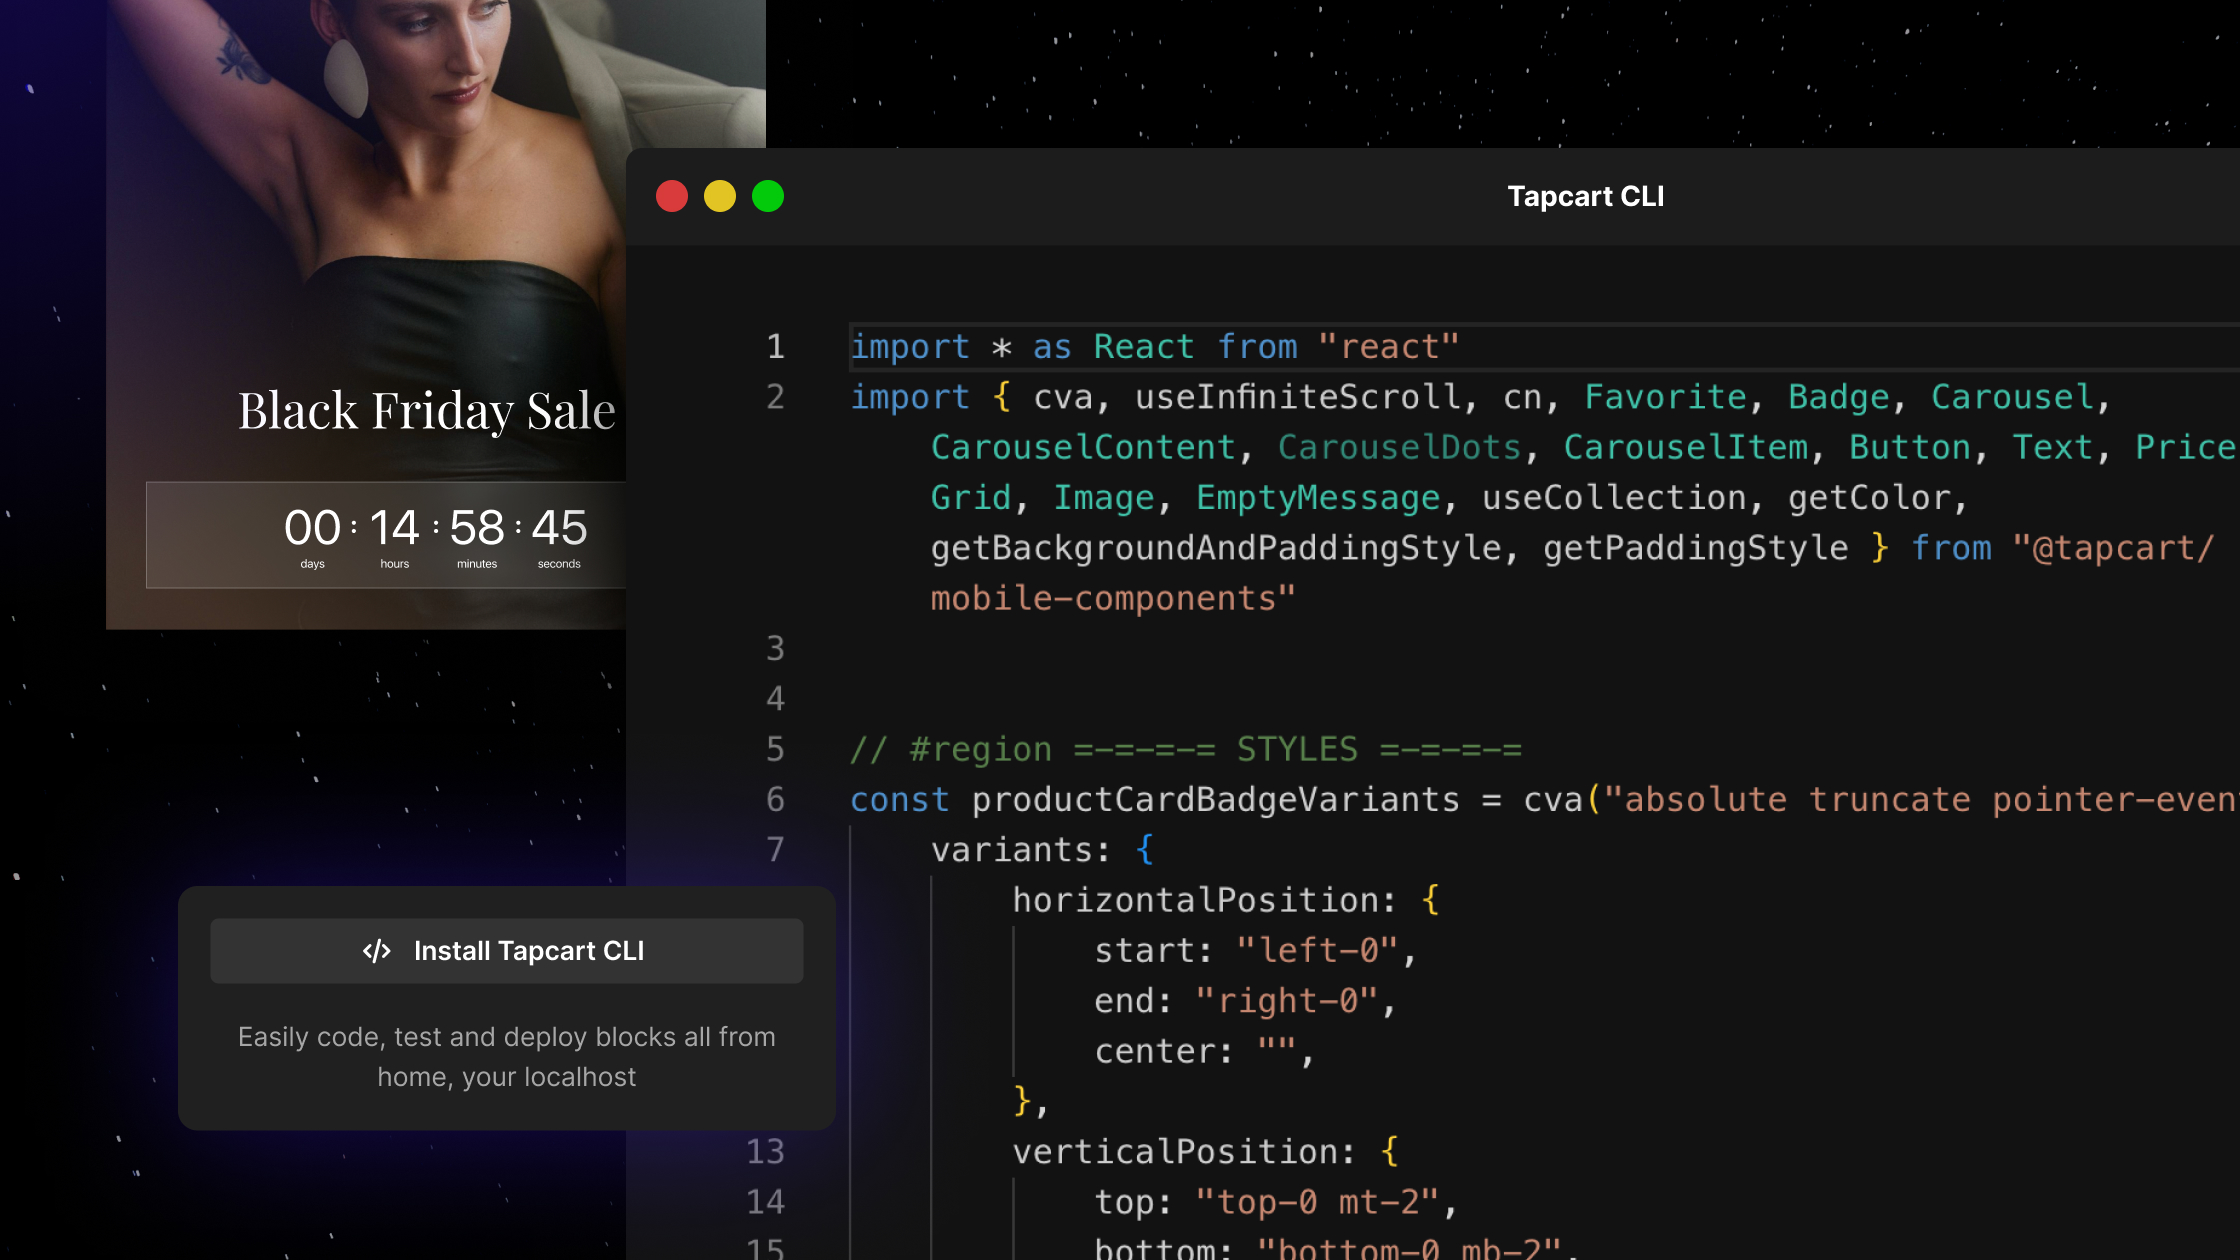
The Tapcart CLI is a tool designed to empower developers to work in their own local environments while developing custom blocks. It’s a platform built by developers, for developers. With it, you can:
- Create new blocks
- Develop blocks locally
- Push, publish, and revert live blocks
- Develop reusable components that can be shared across many blocks
This guide will introduce you to using the CLI tool and how to get started with:
- Creating a Tapcart project locally
- Pulling, developing, pushing and publishing blocks
- Developing, pushing, and bundling reusable components into your blocks.
Start with examples
If you learn best by copy/paste, start here:
NoteCustom blocks, and by extension, the Tapcart CLI, requires the Tapcart Enterprise plan. If you or your merchant are not on an enterprise plan, you will not have access to the CLI tool.
Installation
Up to date installation instructions can be found in the package’s README .
Once you have the CLI installed, verify the installation by running
yarn tapcart –version
Creating a Tapcart Project
Prerequisites
Application Configuration
You must have your Tapcart’s Application ID. You can access this via App Studio.
In App Studio, click on your shop’s name in the top right corner and select Settings.
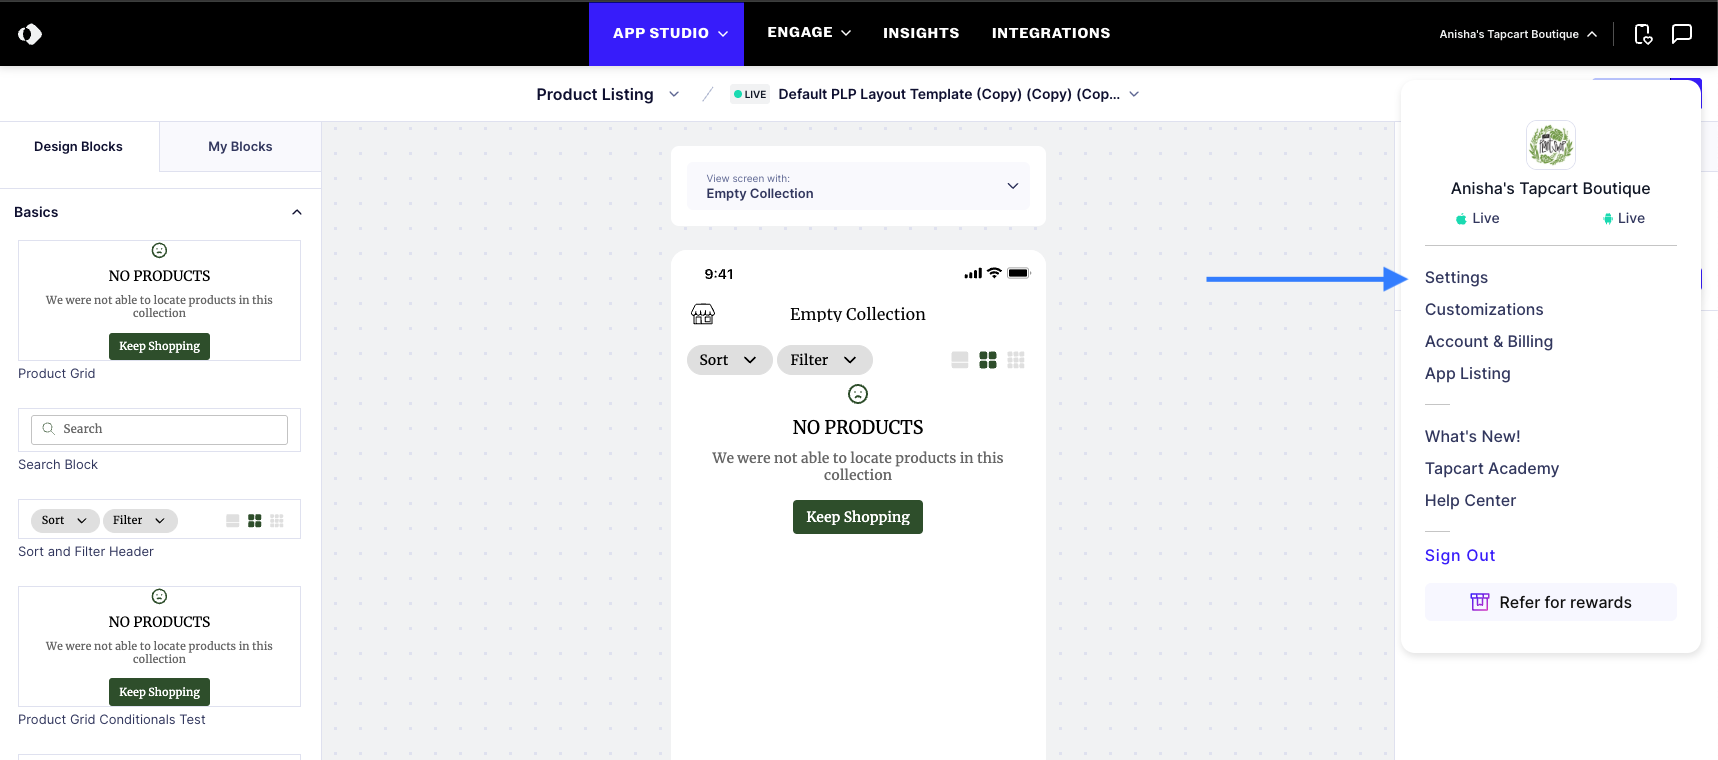
In the App Settings section of the page, scroll down to the Tapcart CLI API Key section. This will display your application ID.

Copy the App ID.
Authentication
You must authenticate with the Tapcart CLI before you can use it. You can do this by running the following command:
yarn tapcart auth login
This will open a browser window where you can log in to your Tapcart account. After logging in, the CLI will store your authentication token locally, allowing you to use the CLI commands without needing to log in again.
Creating your project
In your terminal of choice, navigate to the directory in which you’d like to create the Tapcart project. For this guide, we’ll use a folder we’ve created called tapcart-projects.
> cd tapcart-projects
> npm init @tapcart/tapcart-app
> ✔ Enter the name of the project folder to create … my-project
> ✔ Enter your Tapcart Application ID … appId
> ✔ Project created successfully at /Users/my_user/tapcart-projects/my-project
The CLI will prompt you for the project folder name and an App ID. You should enter a folder name of your choice as well the credentials we retrieved from App Studio.
Once the credentials are entered, you’ll see the project has been created. Navigate to the directory path outputted by the CLI.
cd /Users/my_user/tapcart-projects/my-project
You’re ready to get started with managing all your custom blocks!
Additional Documentation
You can always access more robust documentation by running yarn tapcart -h or yarn tapcart <command> -h