
App Studio Quick Start
Build your first Custom Block end-to-end with the Tapcart CLI (v2).
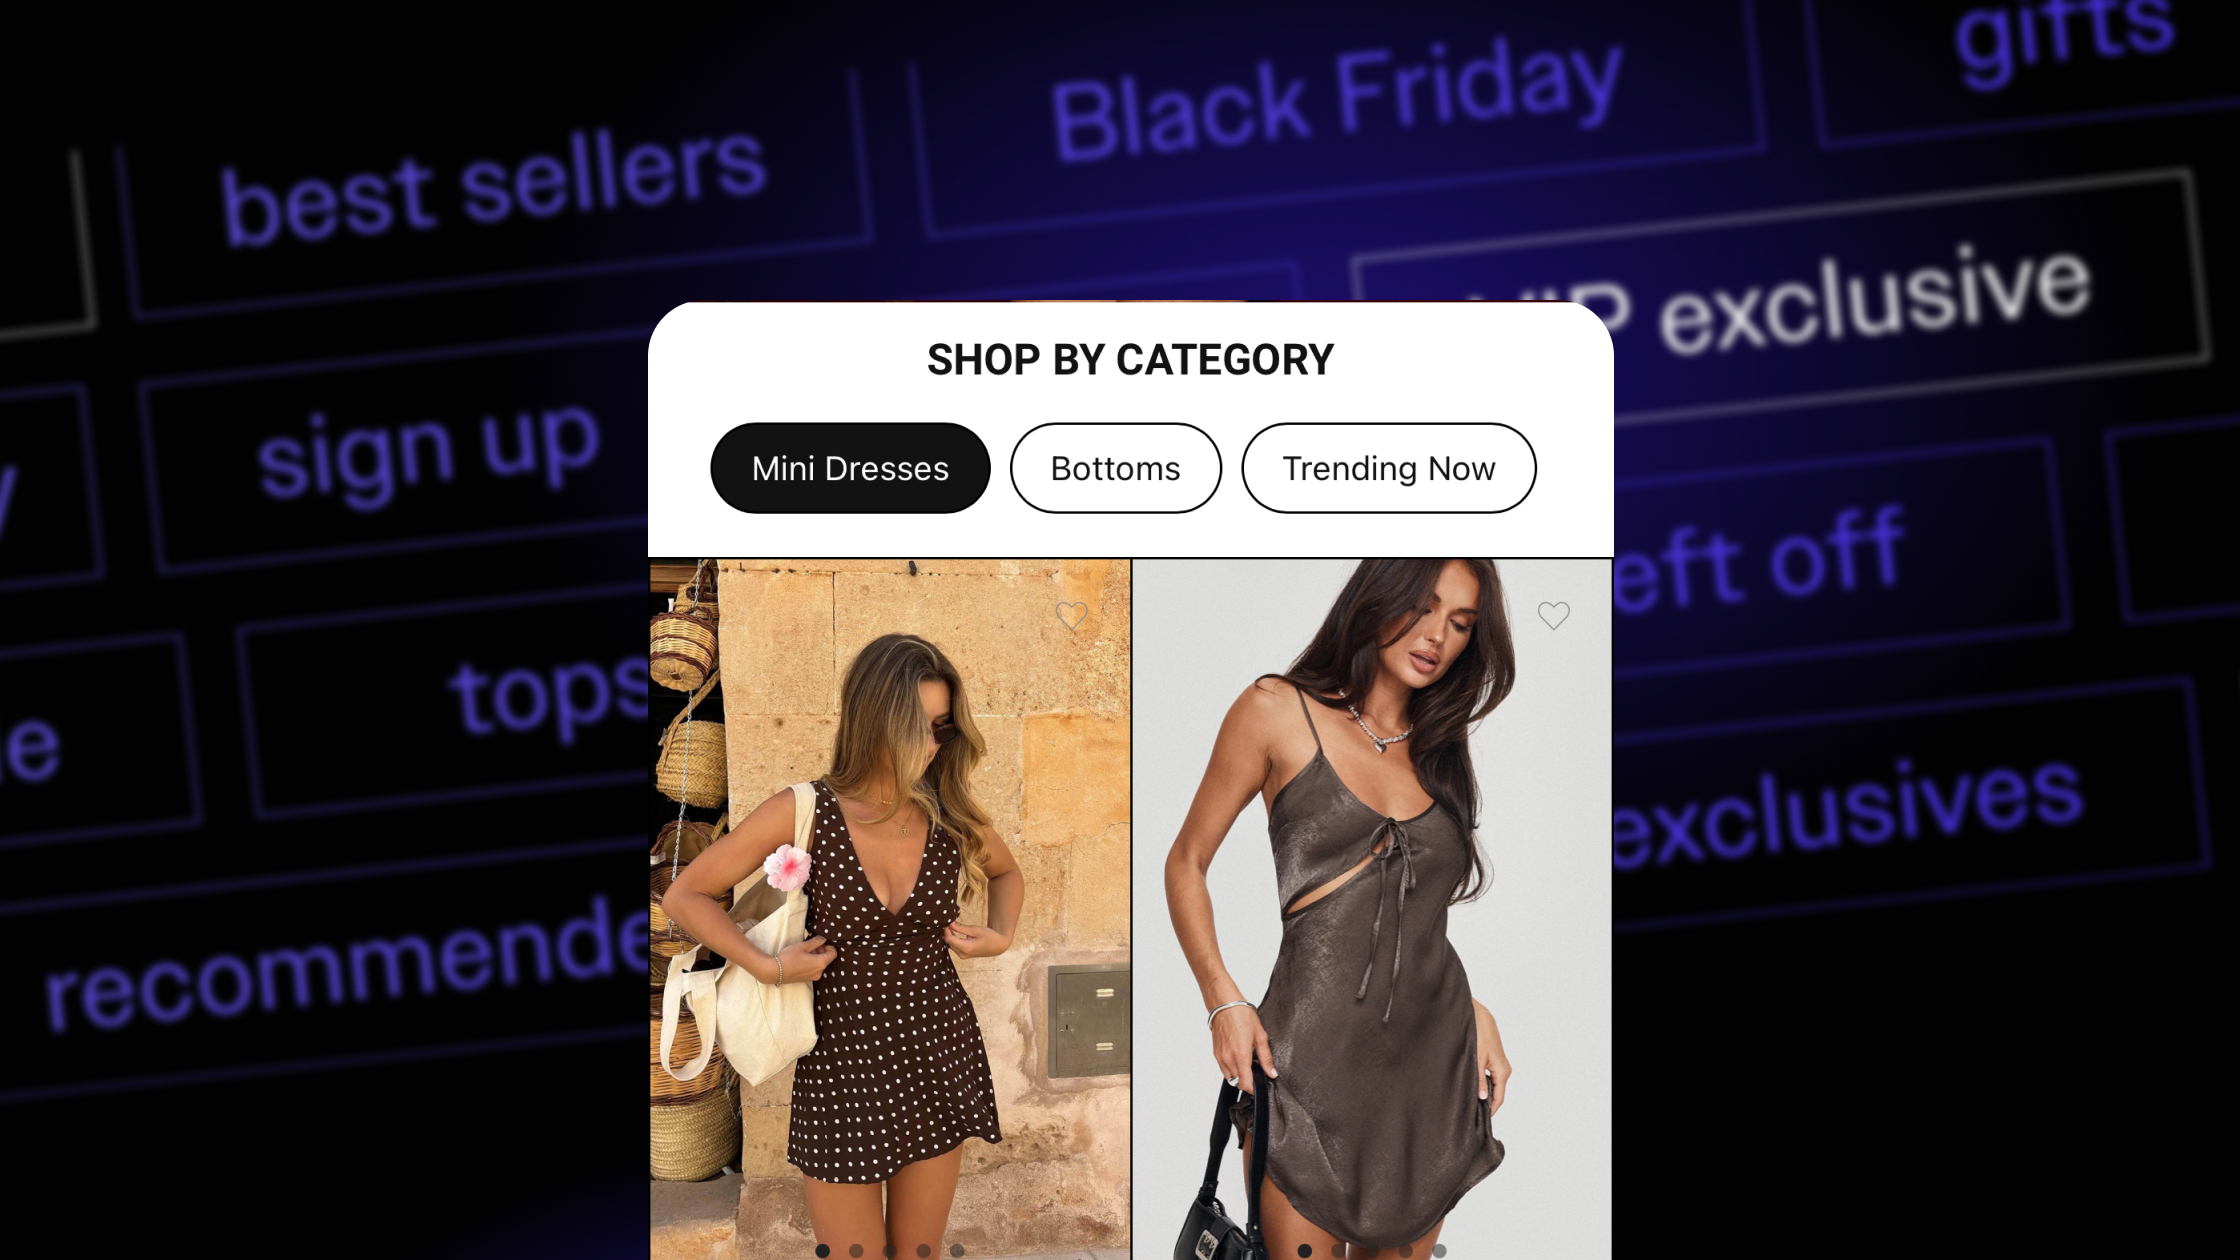
Blocks are reusable modules of content, written in React, that let merchants build unique and dynamic app experiences. Merchants can add, remove, and reorder blocks within a screen to design their ideal flow. Blocks are fully composable and can be configured and edited from the App Studio dashboard.
This guide walks you through building your first Custom Block end-to-end with the Tapcart CLI: install, authenticate, scaffold a project, create a block, wire it to the App Studio CMS, and deploy.
This guide targets Tapcart CLI
^2.0.0(any2.xrelease). Check your version withtapcart --version. For a terse list of every command and flag, see the CLI Command Reference.
Custom blocks and the Tapcart CLI require the Tapcart Enterprise plan.
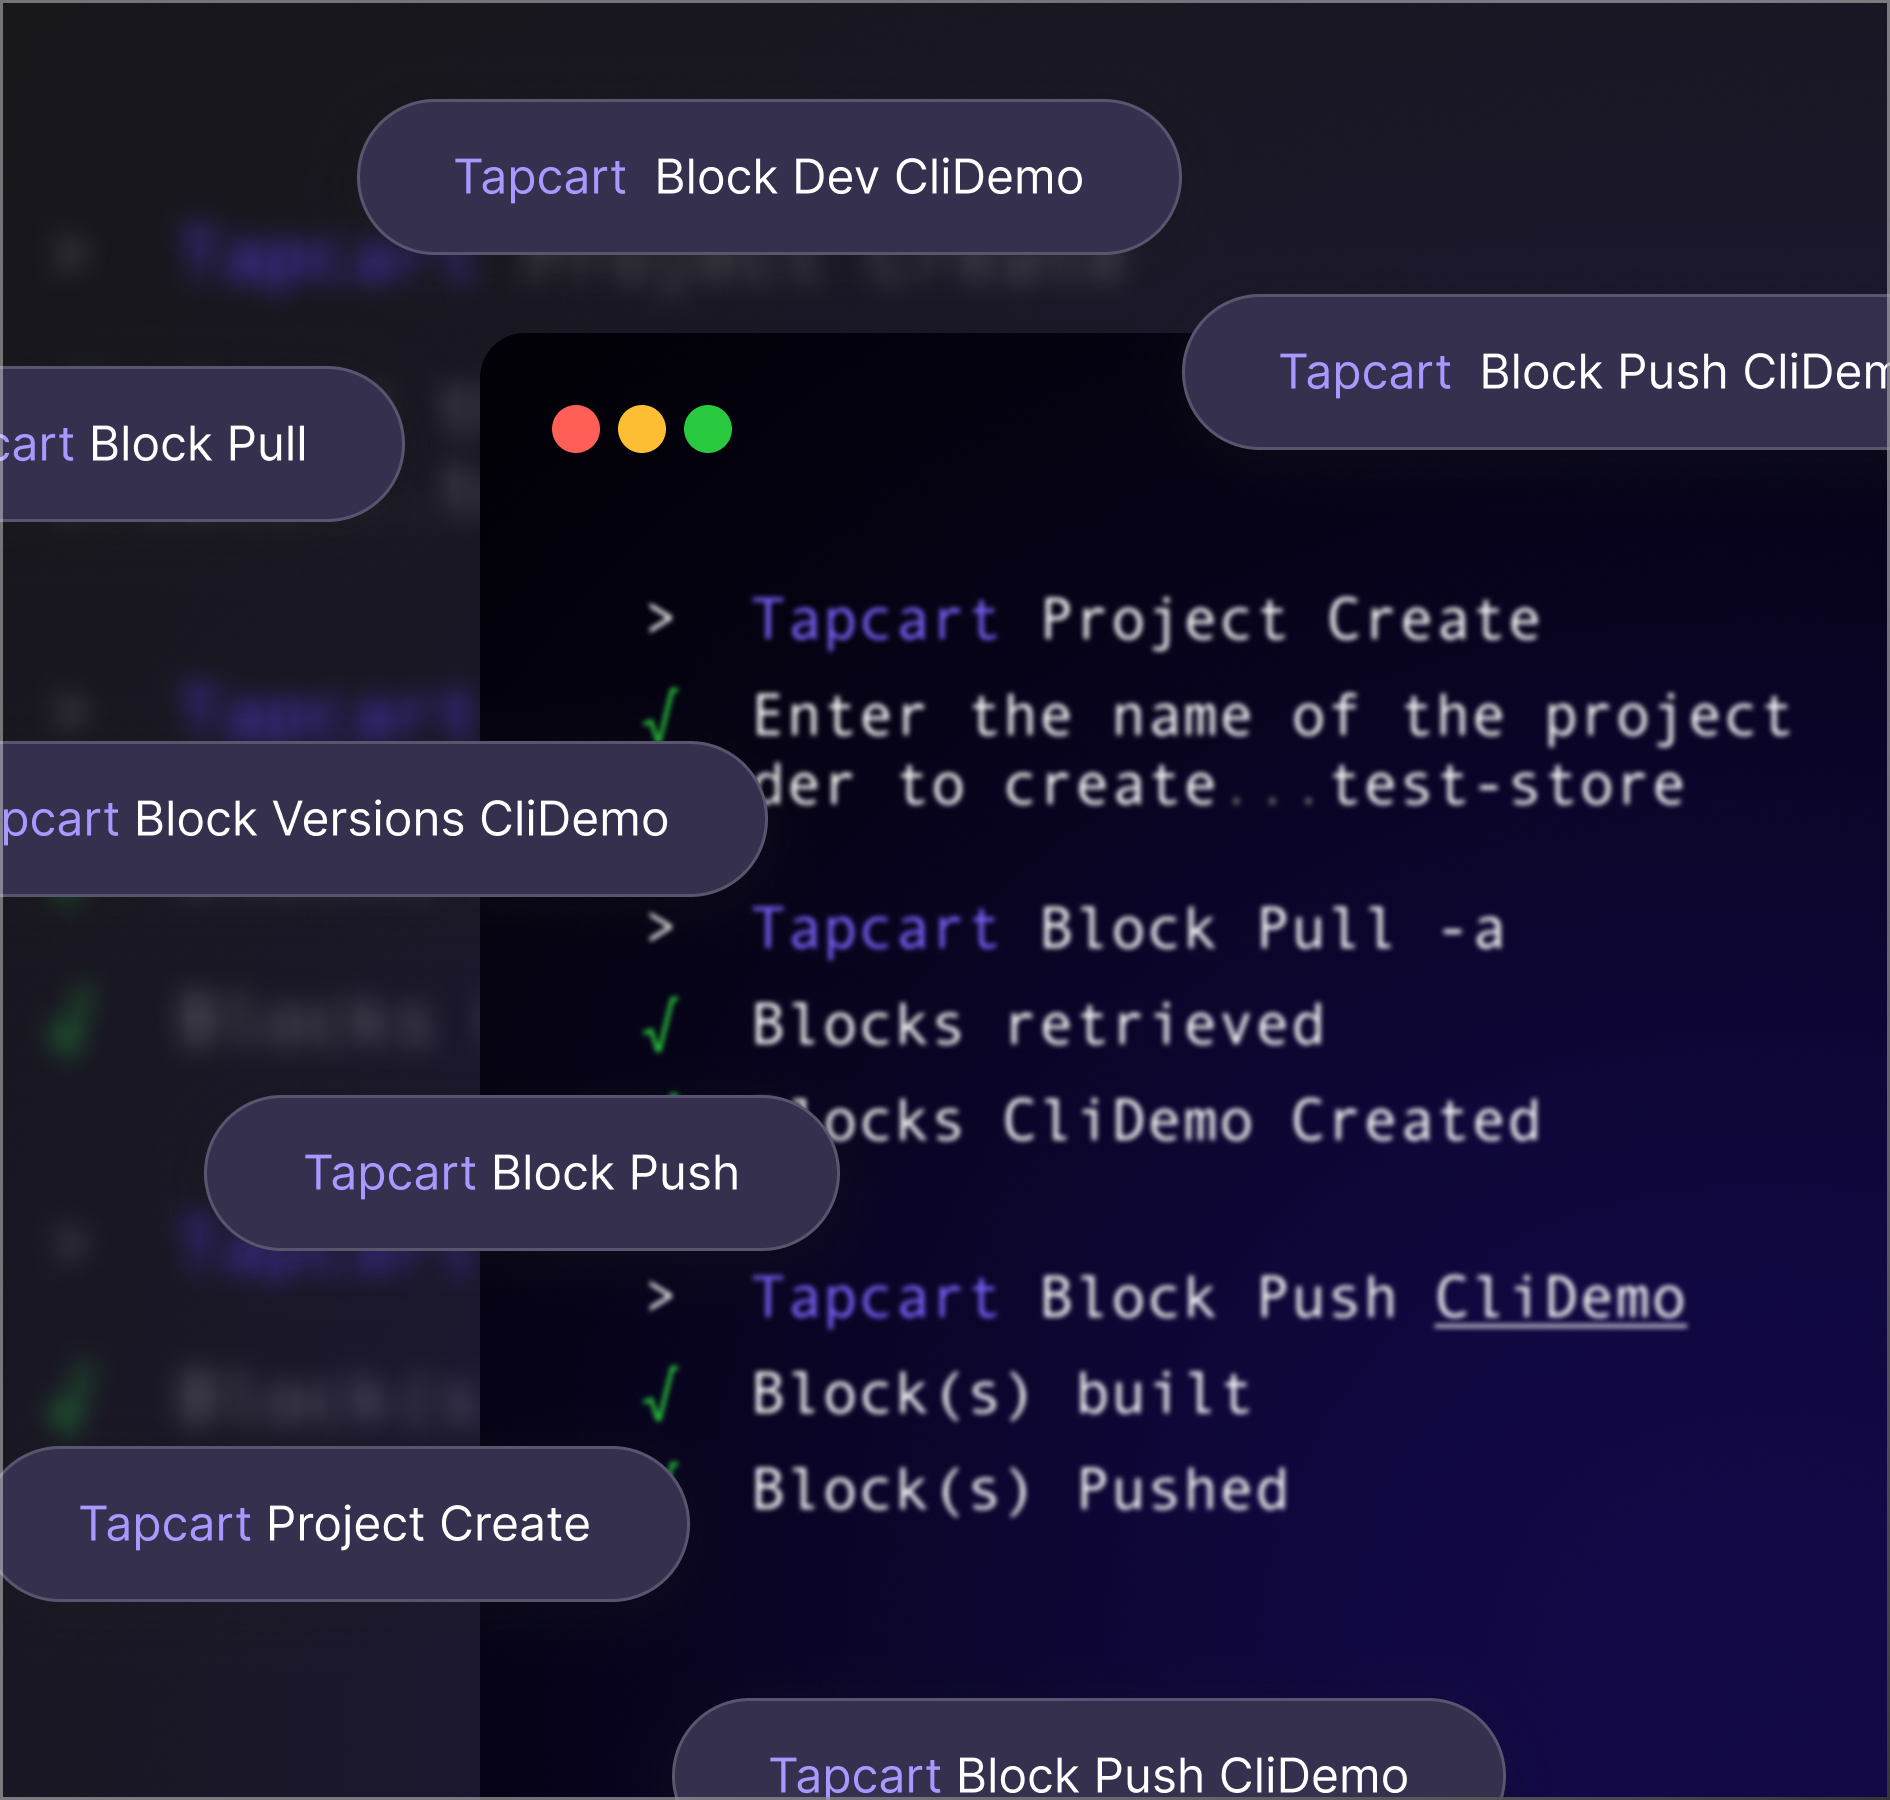
Step 1 — Install and configure the Tapcart CLI
Get your local environment set up with the Tapcart CLI and App Studio SDK.
NPM package: @tapcart/tapcart-cli · Reference: CLI Command Reference
Install the CLI globally
npm install -g @tapcart/tapcart-cli
tapcart --version
Log in to your Tapcart account
tapcart auth loginThis opens your browser to authenticate. The CLI stores your token locally, so you only log in once.
Create your project
Grab your App ID from App Studio: click your shop name (top right), open Settings, and find the Tapcart CLI API Key section. Then scaffold a project:
tapcart project create -a <appId> -p my-projectRun it with no flags to be prompted interactively for your App ID and folder path. This replaces the v1 npm init @tapcart/tapcart-app scaffolder — don't use npm init with the v2 CLI. Then move into the project:
cd my-projectproject create scaffolds tapcart.config.json, a blocks/ and components/ folder, and editor IntelliSense (.tapcart/types + jsconfig.json). If IntelliSense stops working after an update, refresh it with tapcart types sync.
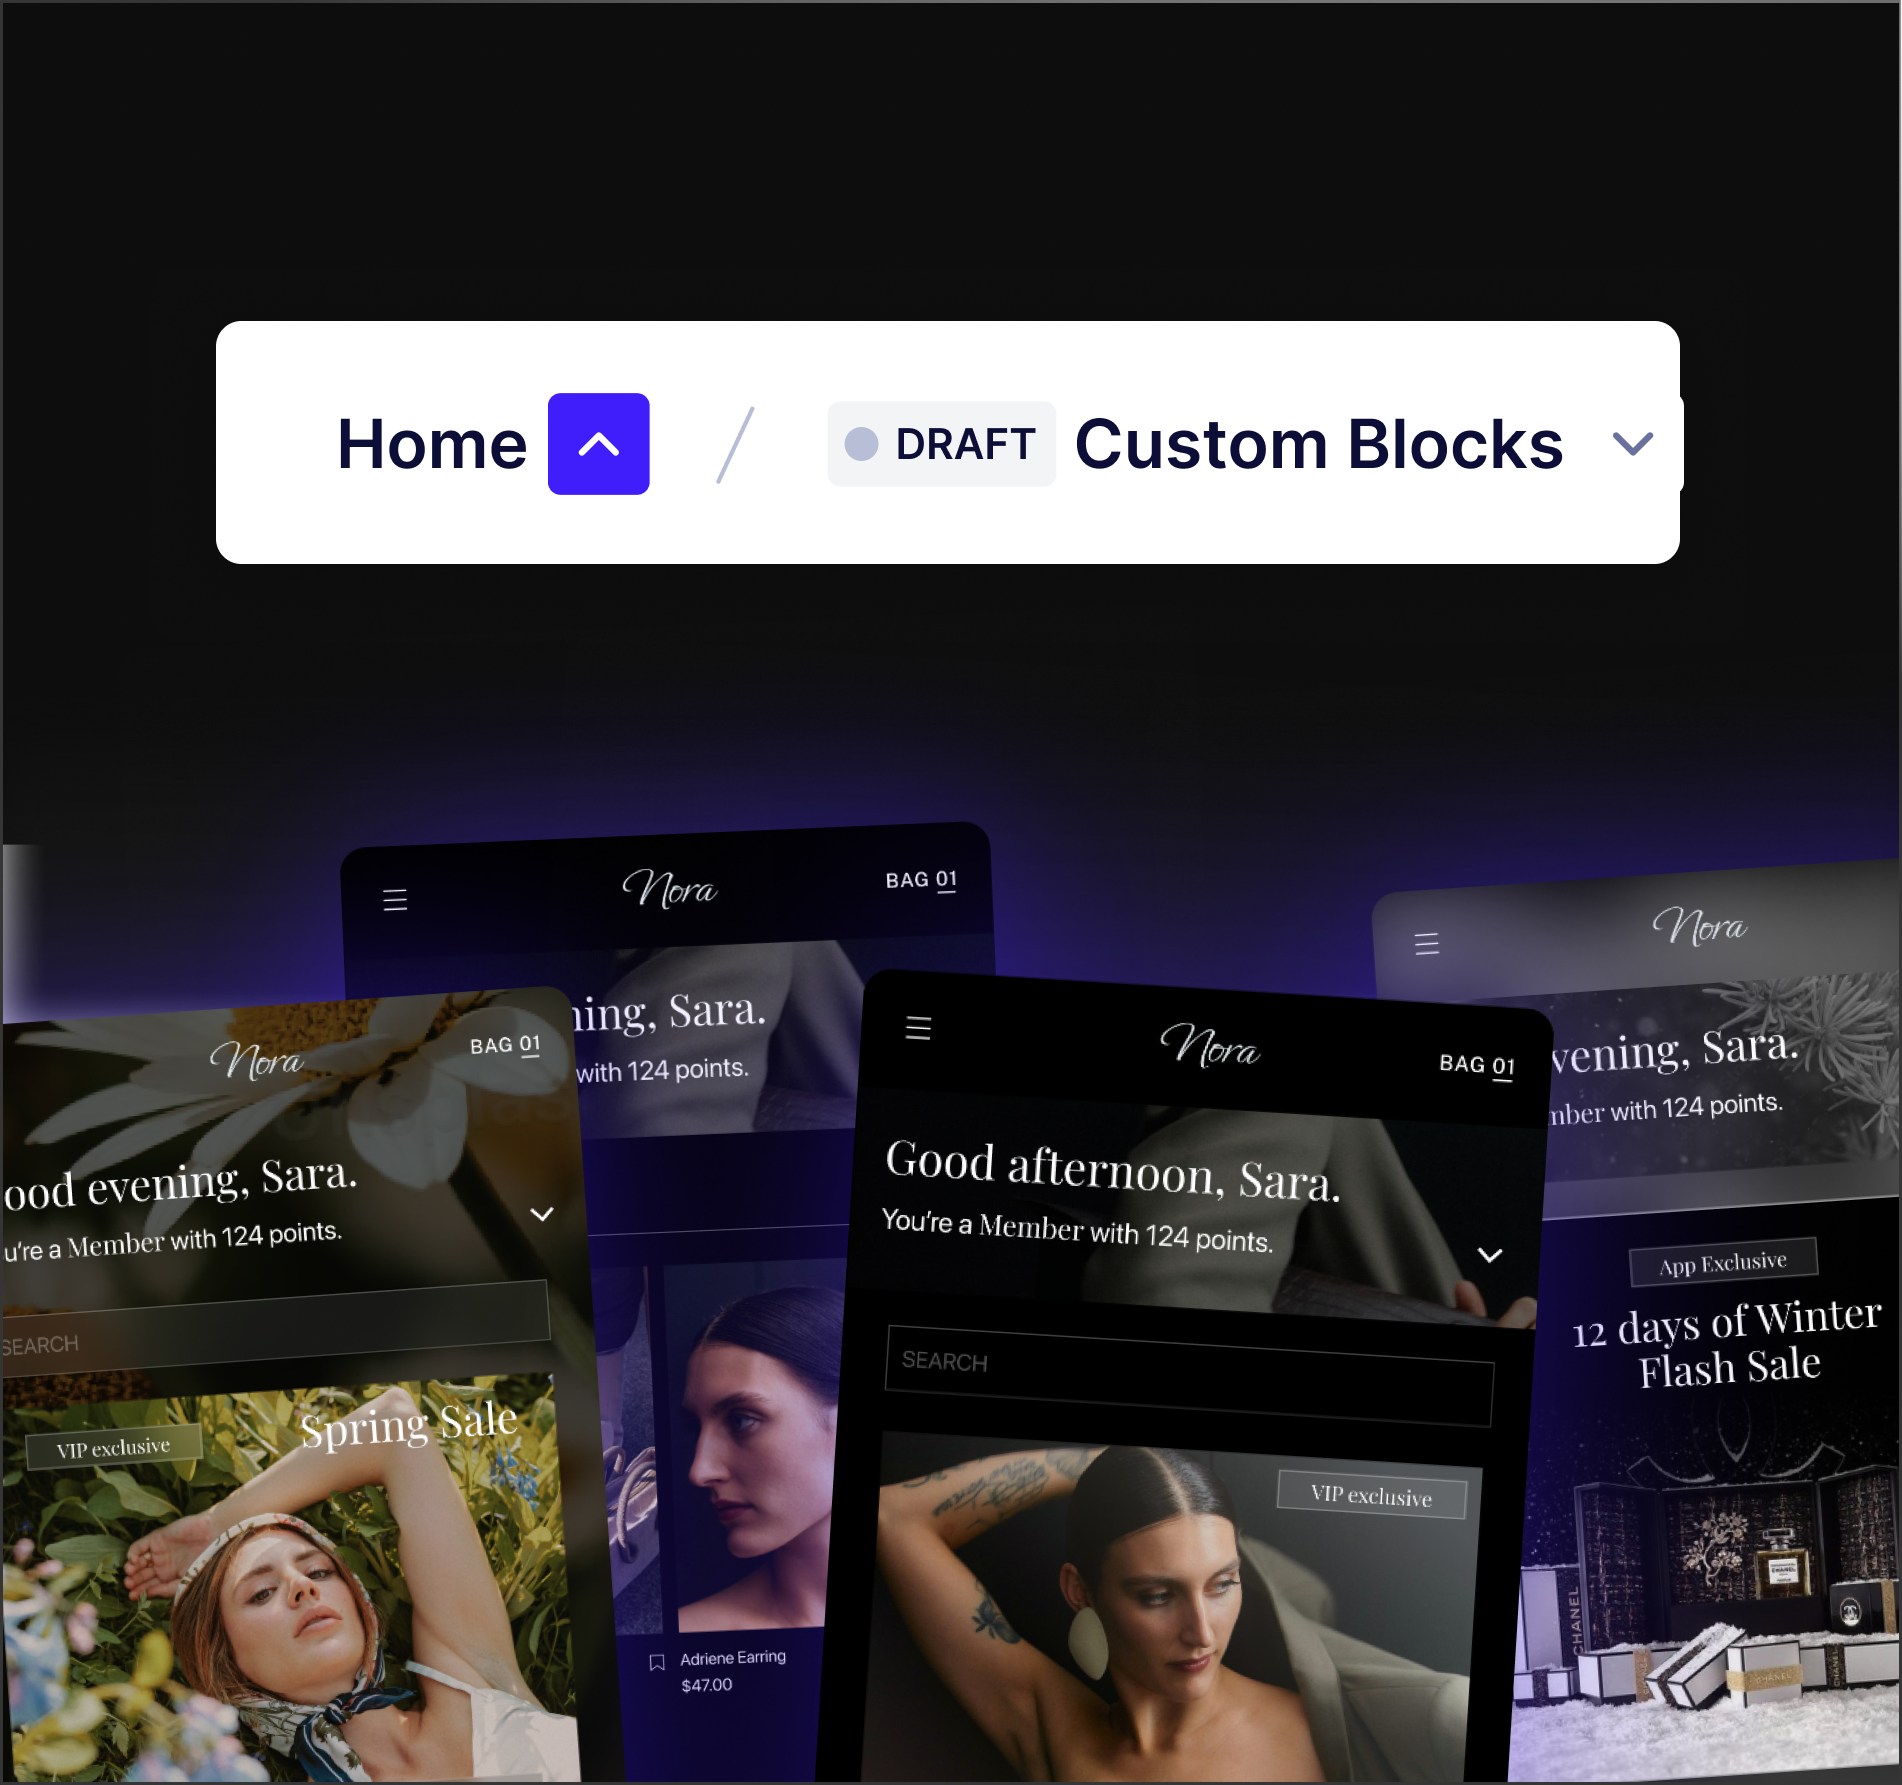
Step 2 — Create and preview a block
Browse the Mobile Component Library — the SDK is pre-imported and ready to use: Storybook
Create a new block
tapcart block create HelloWorldThis scaffolds ./blocks/HelloWorld with code.jsx, manifest.json, manifestConfig.json, and config.json.
Start the local dev server
tapcart dev block HelloWorldYour block is now running
[INFO] ℹ Starting Tapcart dev server...
[INFO] ✔ Tapcart dev server started.
Running at http://localhost:4995
[INFO] ℹ Ctrl + C to stop
Your block code hot-reloads as you edit code.jsx. Prefer a picker? Run tapcart dev with no target and choose a block, component, or layout in the browser.
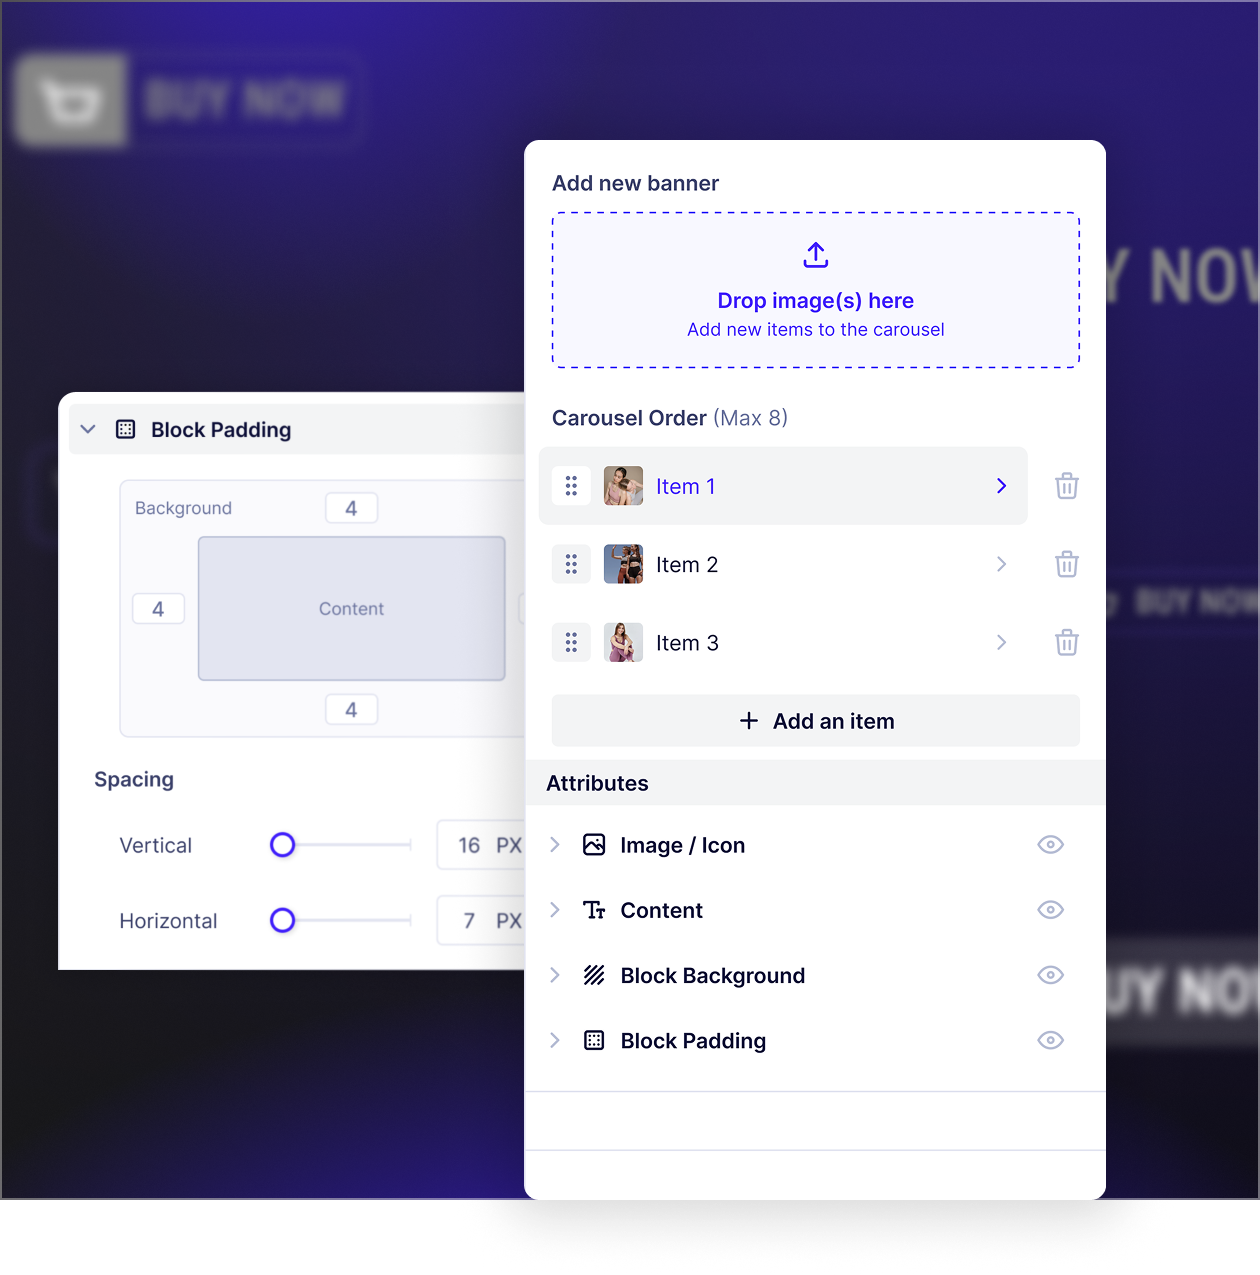
Step 3 — Wire your block to the App Studio CMS
The manifest.json file defines the fields a merchant can edit for your block in App Studio. Each field you add becomes a value on blockConfig inside your block code.
manifestConfig.jsonholds the values saved on the App Studio dashboard.block createscaffolds it empty;block pullfills it in.
Add a field to your block manifest.json
manifest.json is an array of field definitions. text is one of many field types — see Manifest Options for Custom Blocks for the full list with examples.
[
  {
    "id": "myFirstText",
    "label": "Text",
    "type": "text",
    "defaultValue": "Custom CMS text in my block"
  }
]
Read the field from blockConfig
const { myFirstText } = blockConfig;Render the field value
return <Text>{myFirstText}</Text>;
Step 4 — Deploy your block to App Studio
Pushing with
--livemakes the block available in App Studio right away and updates every live instance of it across apps. Omit--liveto push a draft.
Push your block
tapcart block push HelloWorld --liveAdd --yes to skip the live-push confirmation (useful for CI and agents). A non-blocking lint runs first — warnings print but never block the push.
Confirm the deploy
Block(s) built
Block(s) pushed
Use your block in App Studio
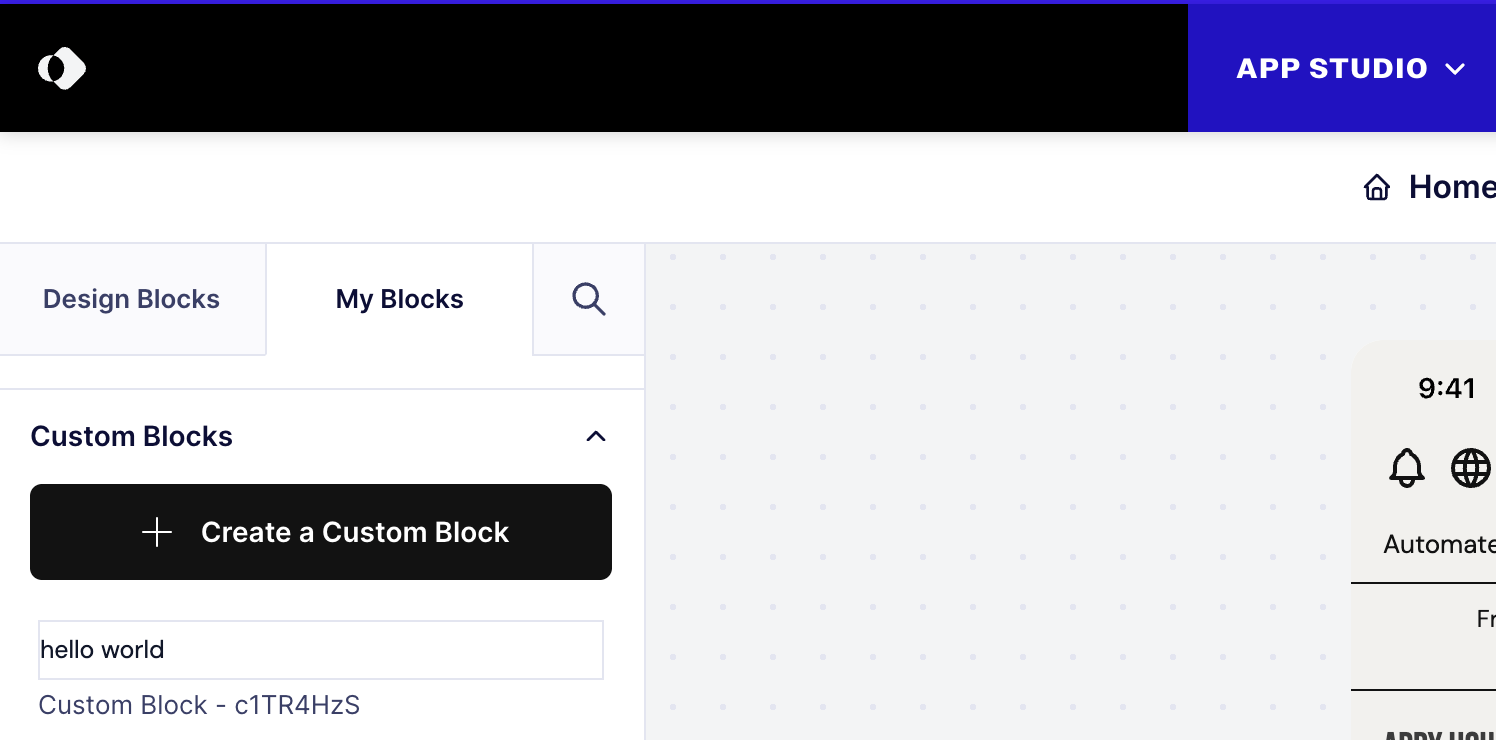
Your block is now available in the App Studio dashboard under App Studio → Screens → My Blocks.
Next steps
- CLI Command Reference — every command, argument, and flag.
- Components — build reusable pieces with
tapcart component create, thentapcart component pushto share them as global App Studio components. - Dependencies — add npm packages with
tapcart dependency add <name> <version>, thentapcart dependency push. - Layouts — preview whole screens locally with
tapcart layout newandtapcart dev layout.
Updated 21 days ago